New Jersey, USA


Introduction
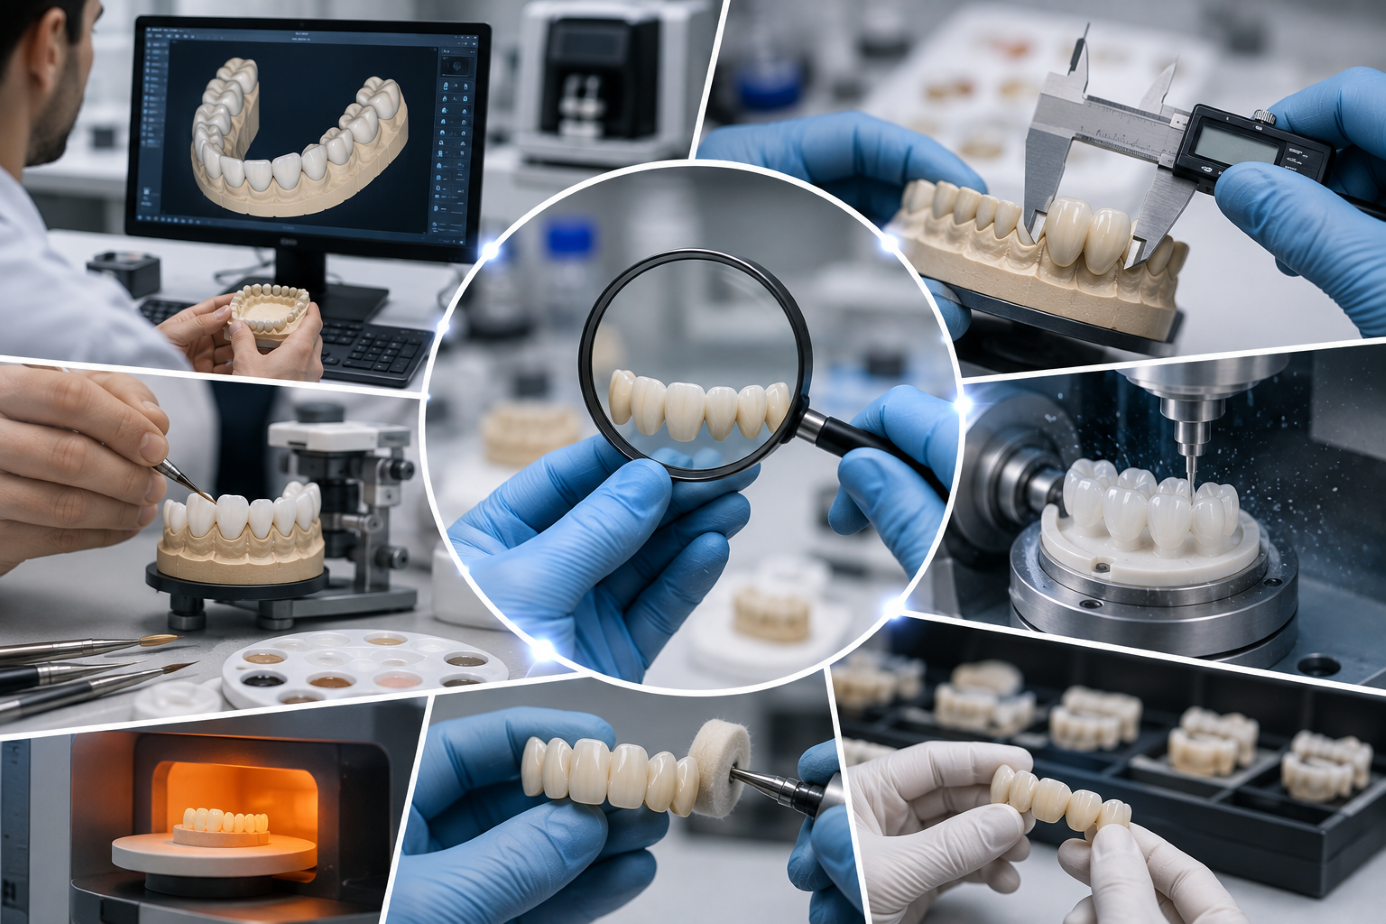
A successful dental restoration depends on much more than advanced materials and modern technology. Accuracy, consistency, communication, and attention to detail are essential at every stage of production. From receiving the initial case information to delivering the final restoration, a structured workflow helps dental laboratories maintain high standards and reduce avoidable errors.
Effective quality control ensures that restorations meet the required standards for fit, function, aesthetics, and durability. By identifying potential problems before a restoration reaches the clinic, laboratories can reduce remakes, improve efficiency, and support better clinical outcomes.
This article explains the importance of quality control in dental laboratory workflows and outlines the key stages involved in maintaining consistent restoration quality.
What Is Quality Control in a Dental Laboratory?
Quality control is a systematic process used to check whether a dental restoration meets specific technical and aesthetic requirements before it is delivered.
The process may involve evaluating:
- Case information and prescriptions
- Digital or conventional impressions
- Restoration design
- Material selection
- Marginal fit
- Contact points
- Occlusion
- Shade and aesthetics
- Surface finish
- Final restoration quality
A well-organized system helps technicians identify issues early, when corrections are often easier and more efficient.
Step 1: Reviewing Case Information
The workflow begins with accurate case information.
Before production starts, the laboratory should review:
- Dentist’s prescription
- Patient and tooth information
- Restoration type
- Material requirements
- Shade instructions
- Occlusal information
- Digital scans or impressions
- Clinical photographs
Incomplete or unclear information can lead to unnecessary delays and production errors. Clear communication between the clinic and laboratory is essential from the beginning.
Step 2: Checking Digital Impressions and Models
Digital impressions have become an important part of modern dental laboratory workflows. However, scans should be reviewed carefully before the design process begins.
Technicians should check for:
- Missing scan data
- Incomplete margins
- Scanning artifacts
- Poor bite registration
- Insufficient soft tissue information
Identifying these issues before designing the restoration can prevent inaccurate results and reduce the need for remakes.
Step 3: Verifying Restoration Design
The design stage is one of the most important points in the workflow.
Whether using CAD software or traditional methods, technicians should evaluate:
- Marginal adaptation
- Restoration thickness
- Contact areas
- Occlusal design
- Emergence profile
- Anatomy
- Connector dimensions for bridges
Digital design tools improve efficiency, but professional judgment remains essential. The technician must ensure that the design is appropriate for the clinical situation and selected material.
Step 4: Monitoring Material Selection and Processing
Different restorative materials require different manufacturing protocols.
Common laboratory materials include:
- Zirconia
- Lithium disilicate
- PMMA
- Composite
- Titanium
- Hybrid materials
Each material has specific requirements for milling, sintering, firing, polishing, or finishing.
Incorrect processing can affect the strength, fit, and appearance of the restoration. Standardized protocols help ensure that materials are handled correctly throughout production.
Step 5: Checking Fit and Contacts
Before a restoration is completed, its fit should be carefully evaluated.
Important checks include:
Marginal Fit
The margins should adapt accurately to the prepared tooth or implant component.
Interproximal Contacts
Contacts should be appropriate to support stability while avoiding excessive tightness.
Internal Fit
The internal surface should allow proper seating without unnecessary adjustments.
Accurate fit can reduce chairside adjustment time and contribute to long-term restoration success.
Step 6: Evaluating Occlusion and Function
Occlusal errors can lead to discomfort, restoration damage, or mechanical complications.
Laboratories should evaluate:
- Static occlusion
- Dynamic contacts
- Functional movements
- Cusp relationships
- Occlusal clearance
The restoration should be designed according to the clinical requirements of the individual case.
Step 7: Assessing Aesthetics
Aesthetic evaluation is especially important for anterior restorations.
Technicians may assess:
- Shade accuracy
- Value and chroma
- Translucency
- Surface texture
- Tooth anatomy
- Characterization
- Symmetry
High-quality photographs and detailed communication from the clinic can provide valuable information during this stage.
Step 8: Final Inspection Before Delivery
The final inspection is the last opportunity to identify potential issues before the restoration is sent to the clinic.
A final checklist may include:
- Correct patient and case identification
- Accurate restoration type
- Proper fit
- Correct contacts
- Occlusal verification
- Surface quality
- Shade confirmation
- Absence of cracks or defects
- Proper cleaning and packaging
A consistent final inspection process helps maintain reliable standards across every case.
The Role of Digital Technology
Digital dentistry has improved the ability of laboratories to monitor and standardize workflows.
Modern technologies can support:
- Digital case tracking
- CAD design verification
- Automated manufacturing
- 3D printing
- Milling
- Digital communication
- Production documentation
However, technology alone cannot guarantee a successful restoration. Experienced technicians are still essential for evaluating the clinical and technical details that automated systems may not fully understand.
Why Standardized Workflows Matter
Standardized workflows help laboratories create consistency across different technicians, cases, and production stages.
A structured process can provide:
- Fewer production errors
- Reduced remake rates
- Improved communication
- Better time management
- More predictable results
- Greater consistency
Clear protocols also make it easier to train new team members and maintain the same standards as the laboratory grows.
Common Quality Control Challenges
Dental laboratories may face several challenges that affect restoration quality.
Common examples include:
- Incomplete case information
- Poor-quality scans
- Incorrect material selection
- Design errors
- Manufacturing defects
- Communication problems
- Inconsistent workflow procedures
Regular reviews and documented protocols can help laboratories identify recurring problems and improve their processes over time.
The Importance of Continuous Improvement
Quality management should not end with the delivery of a restoration.
Laboratories can improve performance by reviewing:
- Remake cases
- Common technical issues
- Production delays
- Communication challenges
- Material performance
- Feedback from clinicians
This information can help laboratory teams refine their processes and prevent similar problems in future cases.
Conclusion
Consistent quality control is essential for producing accurate, functional, and aesthetically successful dental restorations. By reviewing each stage of the workflow—from case intake and design to manufacturing and final inspection—dental laboratories can reduce errors and improve overall efficiency.
As digital workflows continue to develop, combining advanced technology with skilled technicians and standardized procedures will remain the foundation of reliable dental laboratory work. A strong quality management process ultimately supports better communication, fewer remakes, and more predictable outcomes for both dental professionals and patients.